Cut Out Sugar Cookies: Soft, Sweet & Ready to Decorate
Rated 5.0 stars by 1 users
Category
Classic Sugar Cookie Mix Recipes
Turn up your favorite playlist, grab your apron, and get ready to roll - literally! These Classic Sugar Cut-Out Cookies are the kind that bring everyone to the kitchen table, covered in flour and smiles.
With My Better Batch Sugar Cookie Mix, you can skip the tricky parts and dive straight into the fun - rolling, cutting, and decorating buttery, golden cookies that taste just like homemade. All you need is one egg, a stick of softened butter, and a sprinkle of creativity. Use snowmen or Christmas tree-shaped cutters in winter, heart-shaped cutters for Valentine’s Day, pumpkins for fall, or stars just because - these cookies are perfect for any season, any reason, and every craving in between.

Ingredients
Cookie Ingredients
-
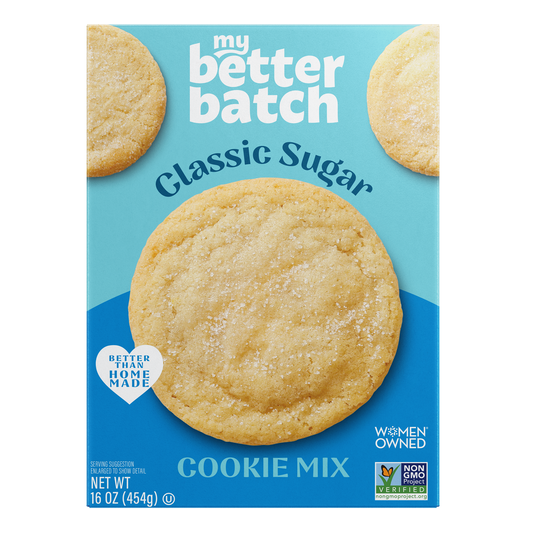
1 pkg My Better Batch Classic Sugar Cookie Mix
- 1 Large Egg
- 8 TBSP Unsalted Butter, Softened
Frosting Ingredients
-
1 ⅓ Cups Powdered Sugar
- 3 TBSP Milk
- 1 tsp Vanilla Extract
- Food Coloring (optional)
Extras
-
Cookie Cutters
- Flour (for dusting)
- Rolling Pin
Directions
Preheat your oven to 350°F.
In a medium mixing bowl, combine the Classic Sugar Cookie Mix, softened butter, and egg. Use a hand or stand mixer on low speed until the dough begins to form. Patience is the key - this can take a few minutes!
Generously flour your countertop and rolling pin, then place your dough on the counter. Roll it out to about ¼ inch thickness, adding a small sprinkle of flour as needed to prevent sticking. Use your favorite cookie cutters - circles, stars, hearts, or any seasonal shapes - to cut out your cookies, gently re-rolling the scraps as you go.
Place the dough on parchment-lined cookie sheets, and once all of the dough has been used, chill for ~30 minutes. This will help the cookies retain their shape when baking.
Bake for 5-6 minutes, or until the edges of the cookies have set. Allow the cookies to rest for 5 minutes on the baking sheet before moving to a plate or cooling rack.
While the cookies cool, make the frosting. In a medium bowl, whisk together 1 ⅓ cups powdered sugar, 3 tablespoons milk, and 1 teaspoon vanilla extract until the mixture is completely smooth.
The frosting should be thick enough to cling to the cookie but fluid enough to spread easily - add a splash more milk if it’s too thick, or a spoonful more powdered sugar if it’s too thin. If you’re adding food coloring, divide the frosting into small bowls and tint each one to create a fun lineup of colors. This simple icing dries with a soft, glossy finish and makes decorating your cookies feel effortless and creative!
Recipe Video
Recipe Note
Decorating & Fun Twists
Once your cookies are fully cooled and your frosting is ready, the real creativity begins. Use a small spatula, piping bag, or even the back of a spoon to spread or drizzle the frosting over each cookie. Add sprinkles, sanding sugar, or edible glitter while the frosting is still wet so everything sticks beautifully.
You can also switch up the look and flavor of your cookies with a few simple twists. Add a drop of almond extract or a bit of lemon zest to the frosting for a different flavor profile, or divide the icing into several colors for themed cookie sets. Feeling extra crafty? Use fine-tipped piping bags to draw simple patterns, like swirls, stripes, polka dots, or outlines that make each shape pop.
Whether you keep things simple or go all out, decorating these classic cut-outs is a fun, delicious way to make each batch uniquely yours!